OpenCode is a free, open source AI coding agent that helps you write code in your terminal, your IDE, or the desktop app. In this post we’ll show you how to install the OpenCode desktop application, and how to use its built-in Build and Plan agents to plan and implement features safely.
Step 1: Install OpenCode Desktop
OpenCode Desktop is available for macOS, Windows and Linux, and lets you organize your work and active sessions with tabs — handy if you want to run several agents in parallel on the same project.
Download the installer
Head to opencode.ai/download and pick the build for your platform:
- macOS (Apple Silicon) — DMG
- macOS (Intel) — DMG
- Windows (x64) — NSIS installer
- Linux — .deb or .rpm package
On macOS, if you use Homebrew you can also install it straight from the terminal:
brew install --cask opencode-desktopPrefer the terminal?
OpenCode is also a terminal app. You can install the CLI with any of these commands:
curl -fsSL https://opencode.ai/install | bash
npm install -g opencode-ai
brew install anomalyco/tap/opencode
Connect a model provider
When you launch OpenCode, connect a model provider. The easiest option is OpenCode Zen, a curated set of models that the OpenCode team has tested and verified:
- Run
/connectin the app and select opencode. - Sign in at opencode.ai/auth, add your billing details and copy your API key.
- Paste the API key — you’re ready to go.
You can also connect any of the 75+ supported providers (Anthropic, OpenAI, Google, GitHub Copilot and more), or log in with your GitHub Copilot or ChatGPT Plus/Pro account.
Step 2: Meet the OpenCode agents
OpenCode ships with two built-in primary agents and three subagents:
- Build (primary, default) — all tools enabled. The standard agent for development work, with full access to file operations and system commands.
- Plan (primary) — a restricted agent for planning and analysis. By default, file edits and bash commands are set to “ask”, so it can analyze your code and suggest changes without modifying your codebase.
- General (subagent) — for researching complex questions and executing multi-step tasks.
- Explore (subagent) — a fast, read-only agent to explore codebases: find files by pattern, search for keywords, answer questions about the code.
- Scout (subagent) — a read-only agent for external documentation and dependency research.
Subagents are invoked automatically by the primary agent when it needs them, or you can @ mention them directly in your messages, for example @explore where is authentication handled?
Step 3: Use Plan first, then Build
For non-trivial features the recommended workflow is to plan first, then build:
1. Switch to Plan mode
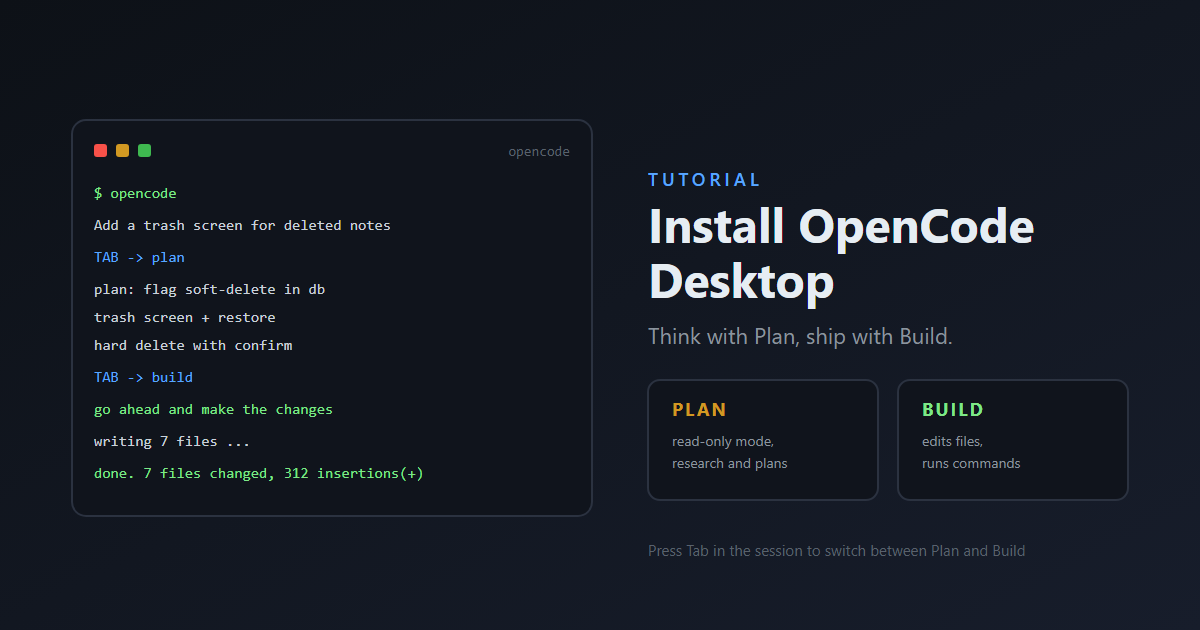
Press the Tab key to switch from Build to Plan (you’ll see a mode indicator in the lower right corner). Then describe what you want to build, in plain language:
“When a user deletes a note, we’d like to flag it as deleted in the database. Then create a screen that shows all the recently deleted notes, and from there the user can undelete or permanently delete a note.”
Talk to it like you’d talk to a junior developer: the more context and detail you give, the better the plan. You can also drag and drop images into the terminal to use them as design references.
2. Iterate on the plan
Once it returns a plan, you can give feedback, request changes or add details before any code is written. Because Plan mode can’t silently modify files, this is a safe space to refine your approach.
3. Switch back to Build
When you’re happy with the plan, press Tab again to switch back to Build and approve it:
“Sounds good! Go ahead and make the changes.”
OpenCode will then implement the feature with full tool access. If the result isn’t what you wanted, run /undo to revert the changes and try again with a tweaked prompt (/redo brings them back). For simple changes you can skip Plan entirely and ask Build directly.
Go further: create your own agents
You can create custom agents — for example a code reviewer or a security auditor — with this interactive command:
opencode agent createIt walks you through where to save the agent, its description, a system prompt, and the permissions it’s allowed. You can also define agents in your opencode.json config, or as markdown files in .opencode/agents/ (per project) or ~/.config/opencode/agents/ (global).
Full documentation: opencode.ai/docs · Source code: github.com/anomalyco/opencode